If you do not have a functional understanding of TCP/IP and wireless networking, please STOP NOW. Call that friend, coworker, family member, or geek down the road, that works part-time at your local computer store, and ask them to help you out.
I do not use or support any third party applications that attempt to make your phone act like an Access Point or adhoc network provider. I also do not know how to adhoc enable everybody's phone -- although I know that it's possible for just about every Android device out there. I've provided a couple links in other blog entries that should help in pointing people in the right direction. There are simply too many variations out there for me to support any one of them.
I have received a lot of reports of people having a hard time getting AR.Assist to "do its thing". Rather than spend a whole lot of time attempting to support an application that I don't have any particular interest in I thought it best to post a manual procedure stepping people through how to Infrastructure Wi-Fi Enable their drone's manually. This walk-through assumes you have an XP computer, but the concepts can be easily applied to Vista and Windows 7.
Before proceeding, please have at least firmware 1.4.7 installed on your AR.Drone. If you need more information on upgrading the firmware on your AR.Drone, please have a look at the automated AR.Pro firmware update procedure.
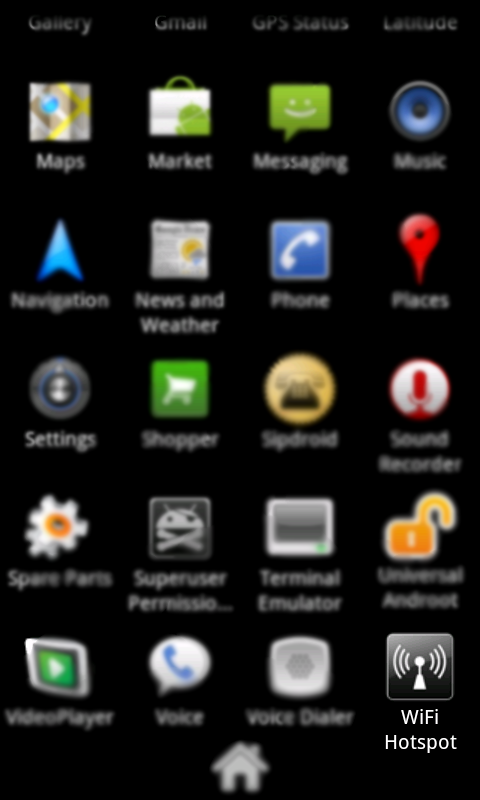 imobile 858 (Android Eclair)
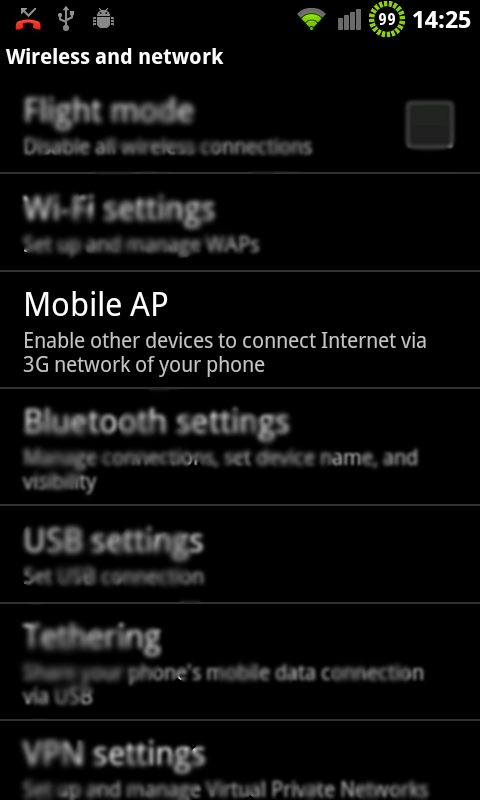
Samsung Galaxy Mobile AP
The first step is going to vary from device to device, but it's basically the same for all -- whether it's a software based Hotspot embedded in your Android phone, or an actual Wireless Access Point / Wireless Router. We need to establish some basic rules for the Wireless network that we want our AR.Drone to connect to.
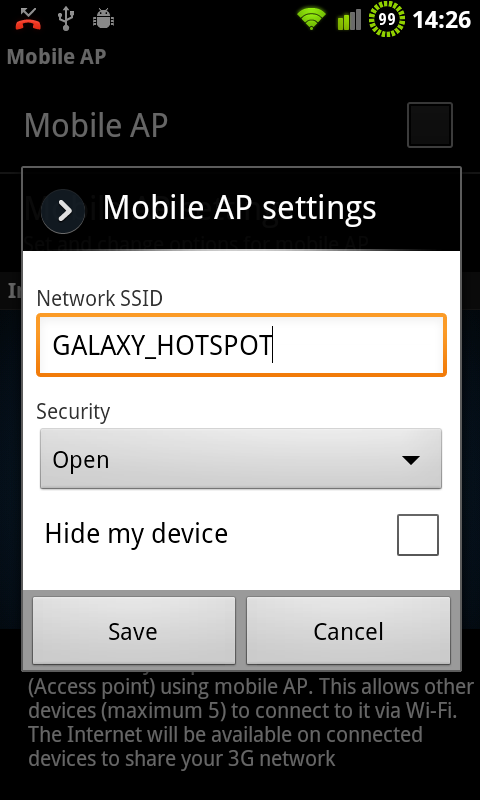 Samsung Galaxy Mobile AP
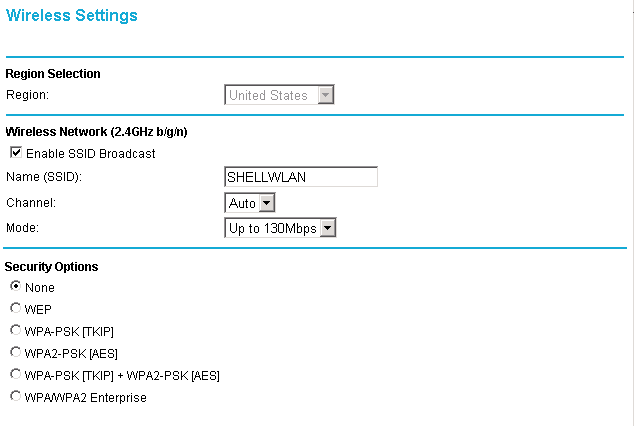 Netgear Wireless Router
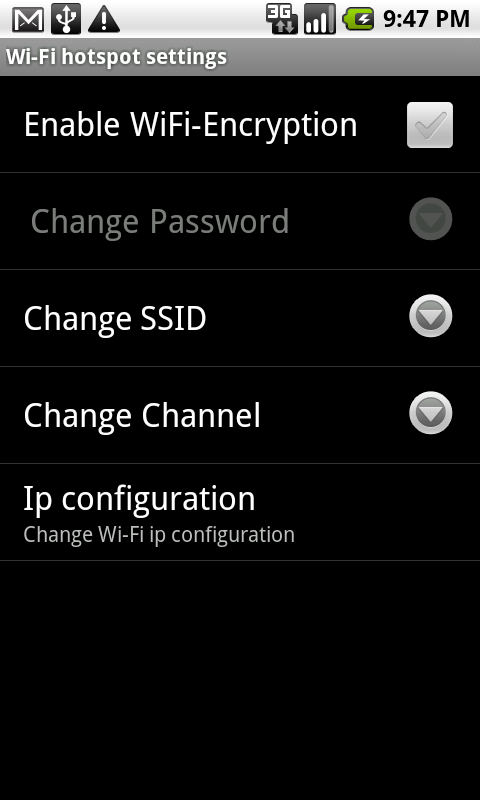
imobile 858 (Android Eclair)
Ensure the following applies no matter the type of Access Point you're configuring:
- Pick a simple SSID
- Disable all security. This is typically referred to as "Open" or "None"
- Do not hide your device, ignore ping, enable firewalls, or anything else that may complicate the process.
- If you can specify a network and IP range (not all phone APs alllow you to do this) ensure the following:
- Use 192.168.43.1 as the IP address of your device (phone / AP / Router)
- Specify a class c subnet (255.255.255.0)
- Specify a DHCP address range above 192.168.43.9 such as 192.168.43.10 to 192.168.43.254
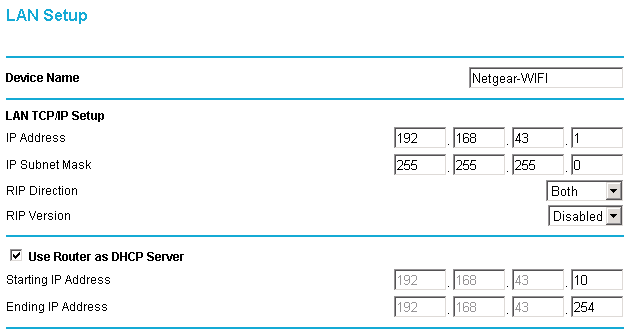 Netgear Wireless Router
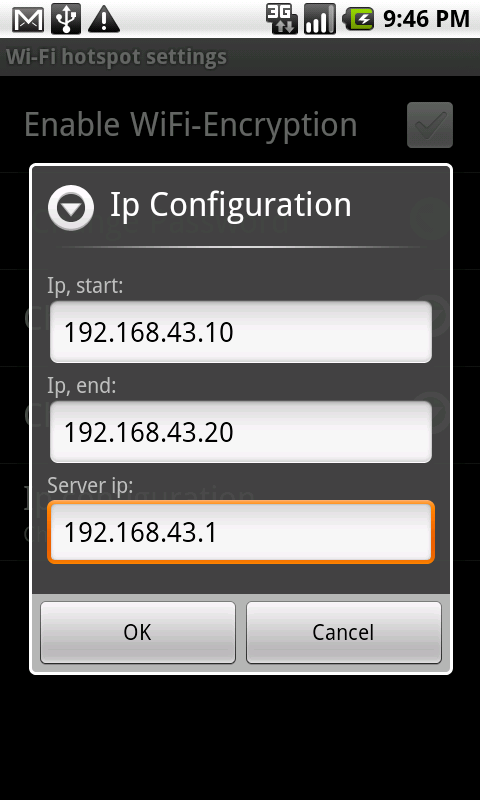
imobile 858 (Android Eclair)
Once your Access Point is configured (and active) set it to the side for a moment and turn your attention to your Windows session. Open up your Wireless Networking settings.
 Windows XP Wireless Network Connections
Select your newly configured Wireless Access Point / Hotspot and connect to it.
 Access Point / Hotspot when successfully connected
Once connected you need to open up a Command Window to verify the network your hotspot / access point supplies. You can get to this by clicking your Start button, selecting Run, and typing cmd.
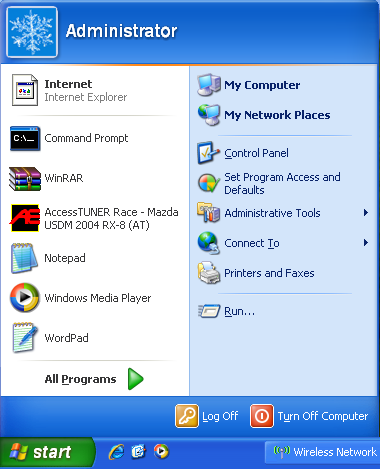
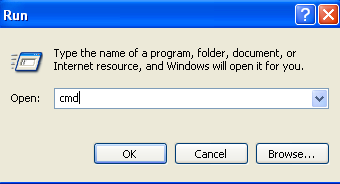
Once the Command window is open you can now execute IPCONFIG and review your connection settings. Make note of the first three octets (the first three dotted sections of your ip address). This is the "network" that your Access Point / Hotspot is managing and is what we're going to use to tell your drone how to connect to it

Output of executing IPCONFIG (C:\....> ipconfig)
Open up Notepad or your favorite basic text editor and paste the following line into it:
killall udhcpd ; iwconfig ath0 mode managed essid HOTSPOT_NAME_HERE ; ifconfig ath0 FIRST.THREE.NUMBERS.2 netmask 255.255.255.0 up
Replace HOTSPOT_NAME_HERE with the name you provided (and subsequently connected to) for your Access Point / Hotspot. Replace FIRST.THREE.NUMBERS with the first three octets (the first three numeric dotted sections of the IP Address you got from IPCONFIG) of your computer's IP Address while it was connected to your Access Point / Hotspot. If your IP Address was 192.168.43.15 you would use the value 192.168.43 The complete IP Address would then be 192.168.43.2 Don't forget the last octet (2).
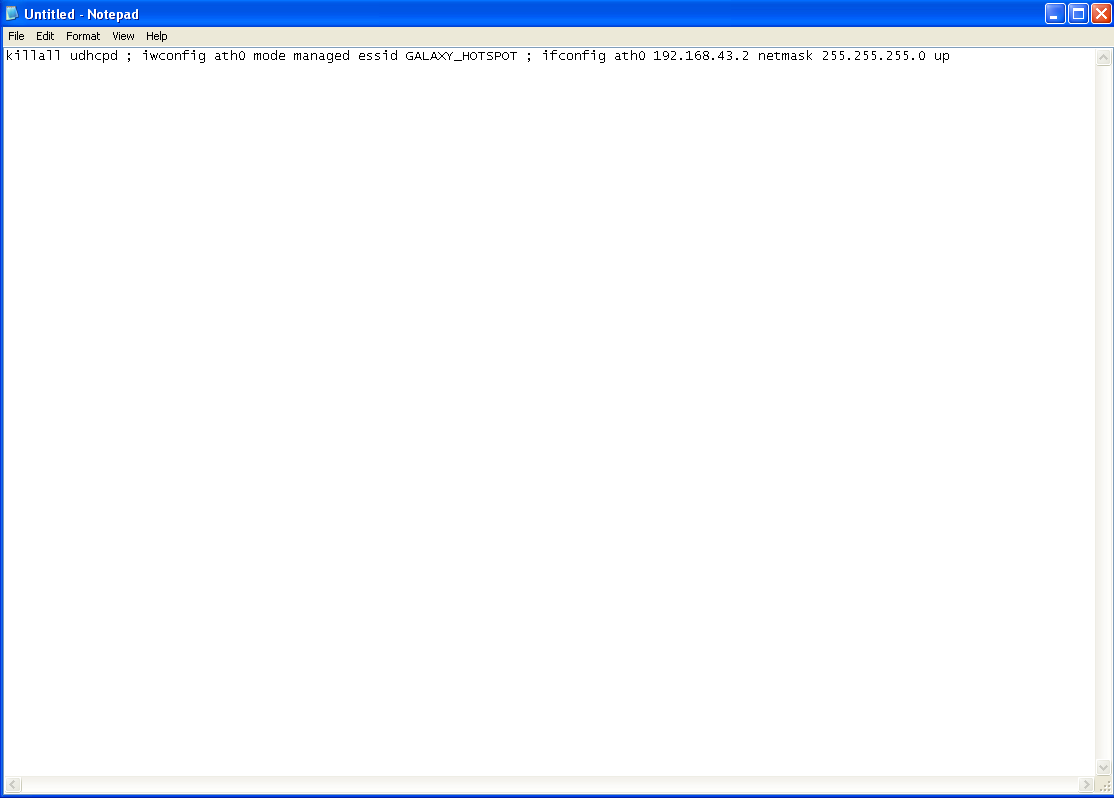 Notepad with the bash commands necessary to temporarily connect your drone to your Access Point / Hotspot
Now we're going to move on to your AR.Drone. Power it up, if you haven't already, and connect to its adhoc network with your Windows computer.
 Drone adhoc network when successfully connected
Go back to your Command window, or open a new one, and telnet into your AR.Drone. If you are using a Windows Vista or 7 computer you will need to first enable the Telnet Client by going into Add Windows Features through Control Panel and selecting it.

Type telnet 192.168.1.1 to connect to your AR.Drone
Now select the entire modified string of commands you modified in Notepad and copy/paste them into the telnet session you just opened.
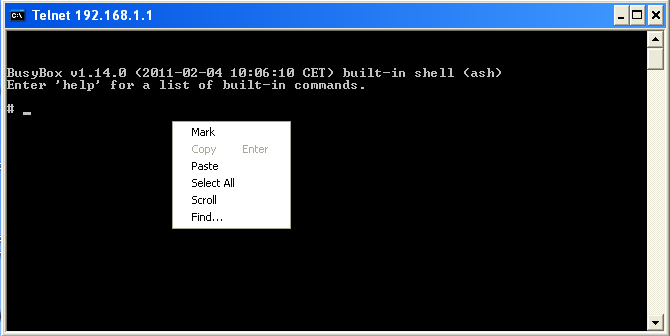 Paste into the telnet session and press Enter
Assuming that you followed all of the prior steps correctly your Drone should now be connected to your Access Point / Hotspot. Open up AR.Pro, go into Preferences, Network Settings, and set the IP Address value to the IP Address you specified in the previous step. In this example it is 192.168.43.2
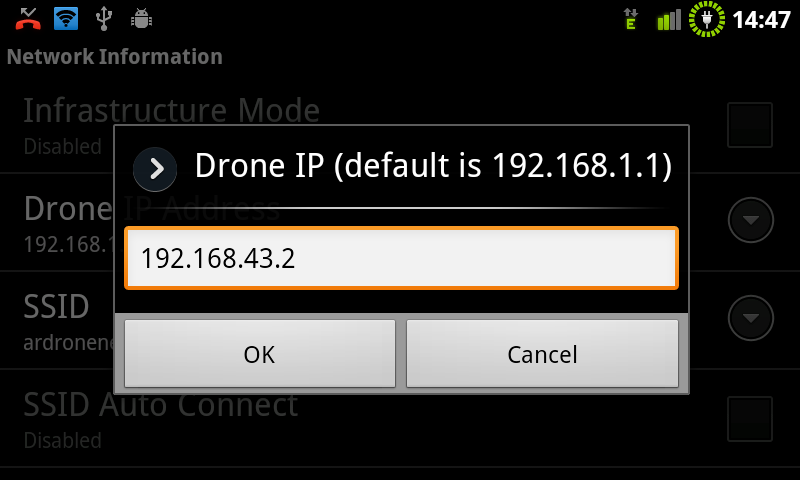 Set the Drone IP to the address you used previously in Notepad
Connect to your drone then immediately go back into Preferences
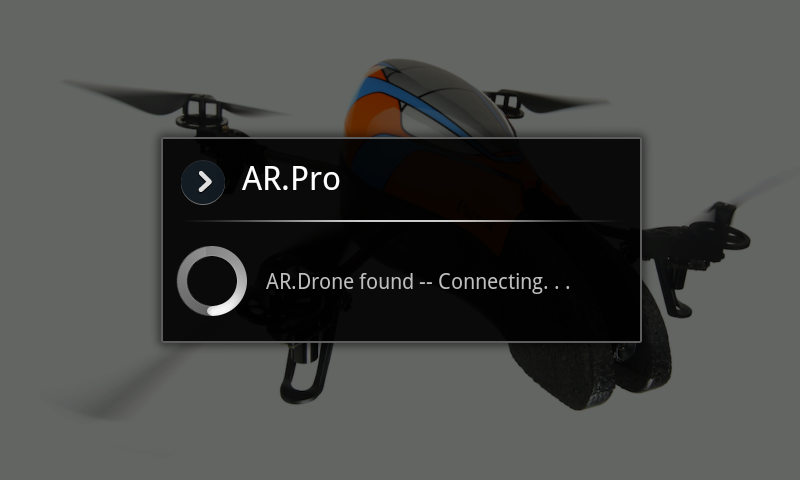 After connecting go back into Preferences
Now go back into Network Information and apply the AR.Pro Infrastructure Patch
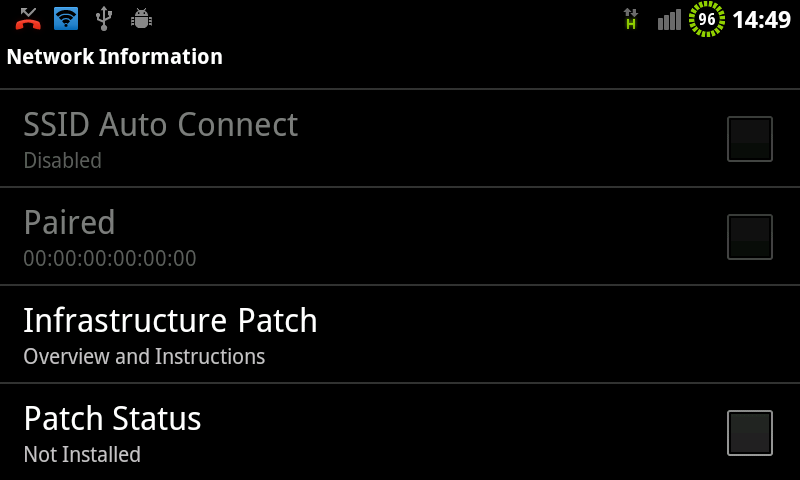 Tapping Patch Status will bring up a warning about proceeding
Tap Yes to proceed, assuming that you accept sole responsibility for problems that arise as a result of applying the patch
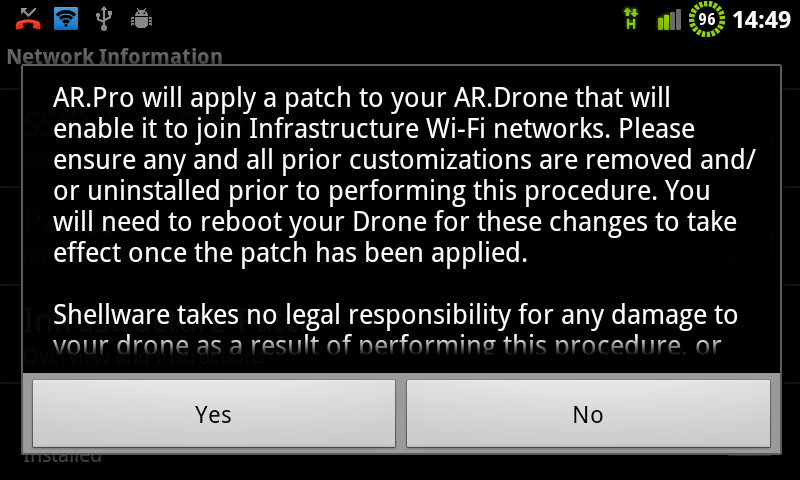 Tapping Yes instructs AR.Pro to apply the Infrastructure Patch to your drone
The Patch is installed once the Patch Status menu item shows selected
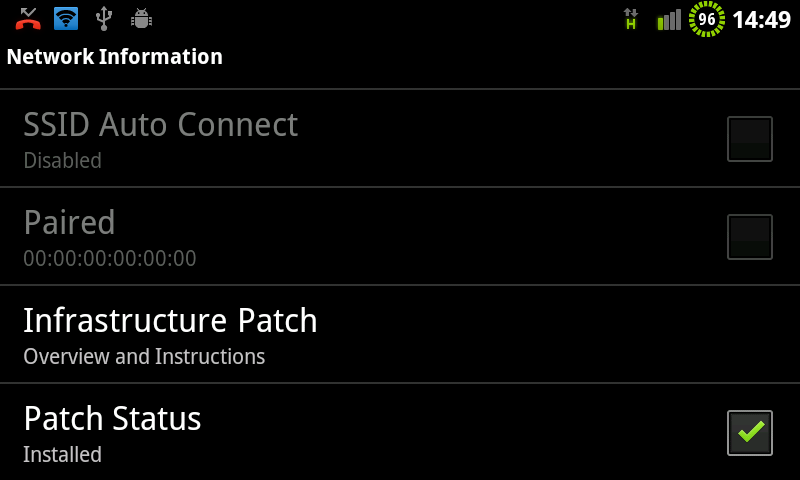 Infrastructure Patch is Installed
Select SSID and provide the SSID you gave for your Access Point / Hotspot.
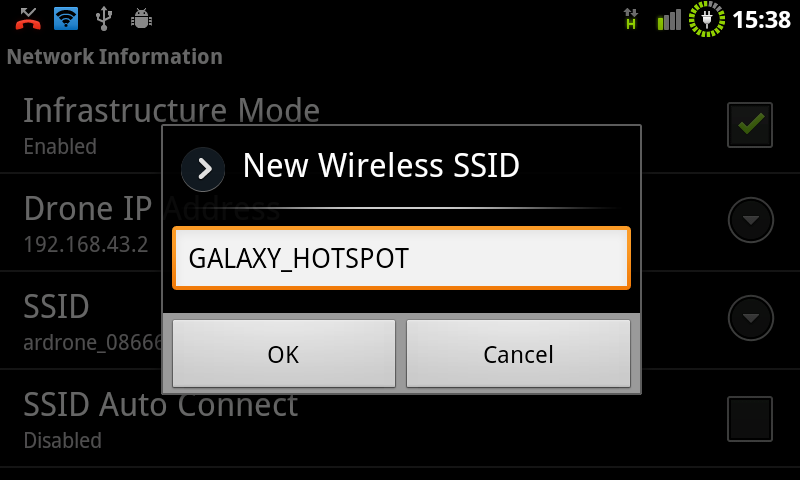 The SSID of your Hotspot / AP
Reconfirm your drone's IP Address. This step is critical as it stores the actual IP Address for your drone in your drone's memory. Tap Drone IP Address, then press the OK button to close the dialog.
 You must save your drone's IP in it's memory
Now, select Infrastructure Mode and you're all but complete.
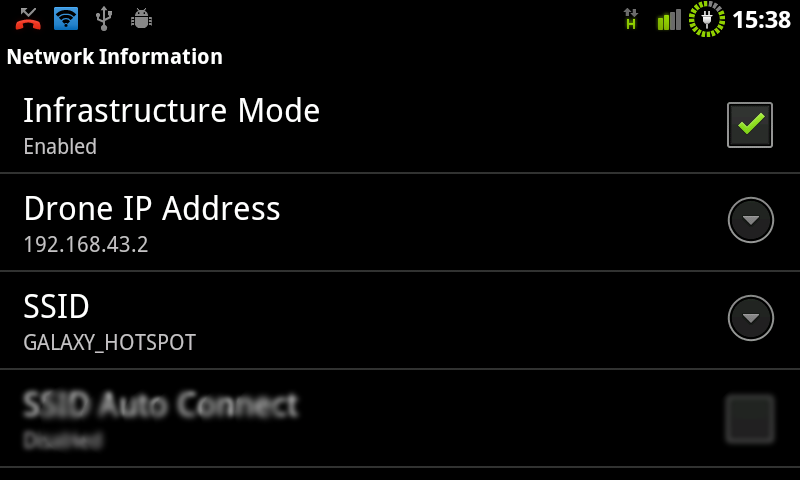 Infrastructure Mode instructs the drone to not create an adhoc network
You can now use AR.Pro's Reboot Drone option (located in Drone Information) to remotely reboot your drone.
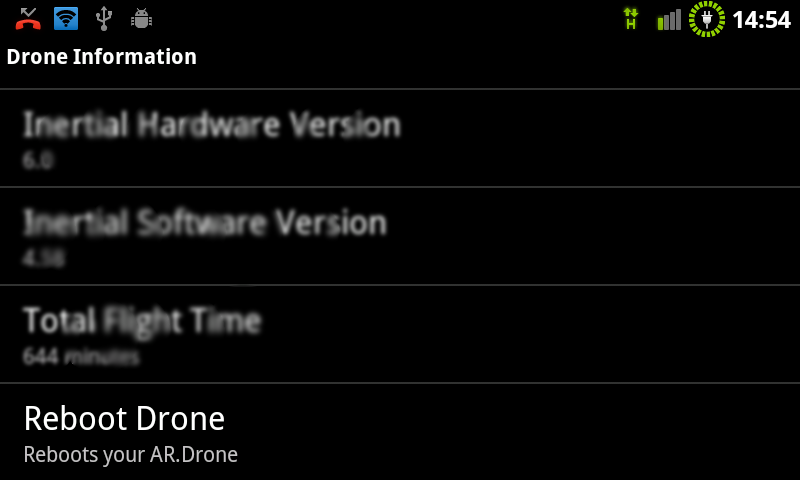 Reboot your drone
Go back to AR.Pro's main user interface and wait for your drone to boot back up and rejoin the Infrastructure network automatically. The only then left to do is go fly!
