AR.Assist is an extremely easy to use Windows Wizard that steps you through the process of temporarily Infrastructure Wi-Fi enabling your AR.Drone. You can use AR.Assist on demand to configure your AR.Drone for Infrastructure mode on an as needed basis, or you can use AR.Assist as a jumpstart to apply the AR.Pro Infrastructure Patch to your drone.
There is also a manual installation procedure available here for those having problems with AR.Assist or wishing to do the work themselves.
STEP 1 -- Review all instructions and prepare for the procedure
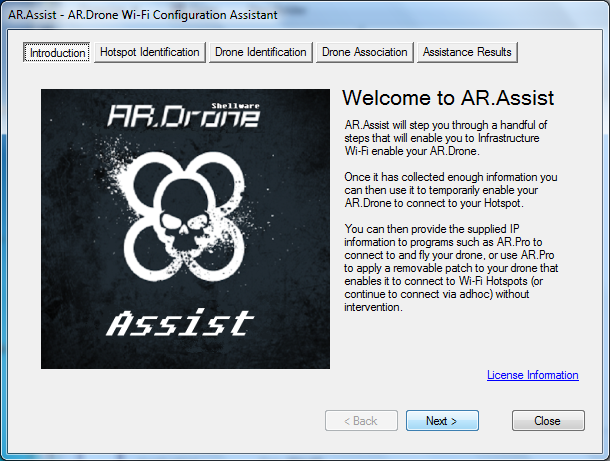
STEP 2 - Scan for and Select the Infrastructure WAP/Hotspot you wish to connect your drone to
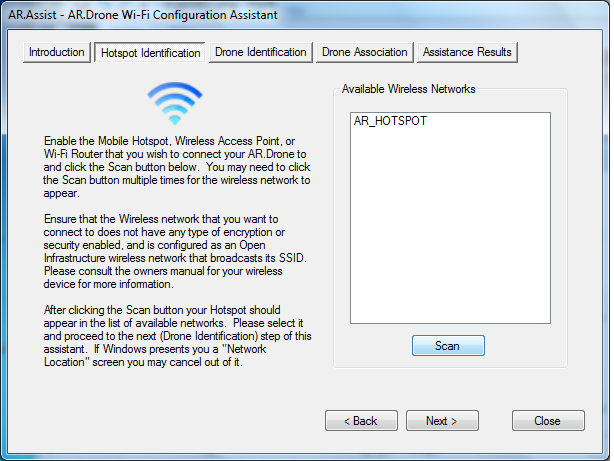
STEP 3 - Power up your AR.Drone, scan for, and select its adhoc network
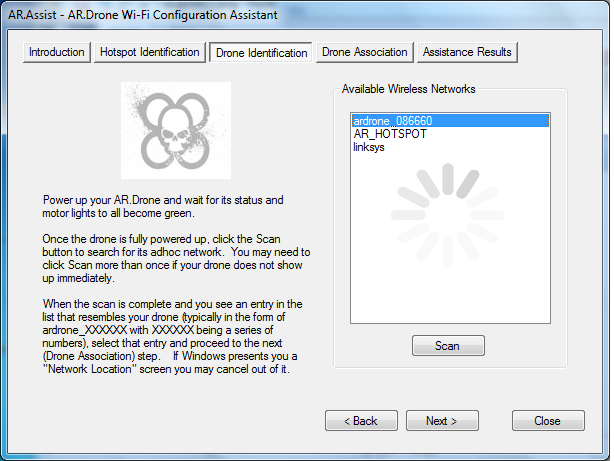
STEP 4 - Associate your drone to the Infrastructure WAP/Hotspot previously selected
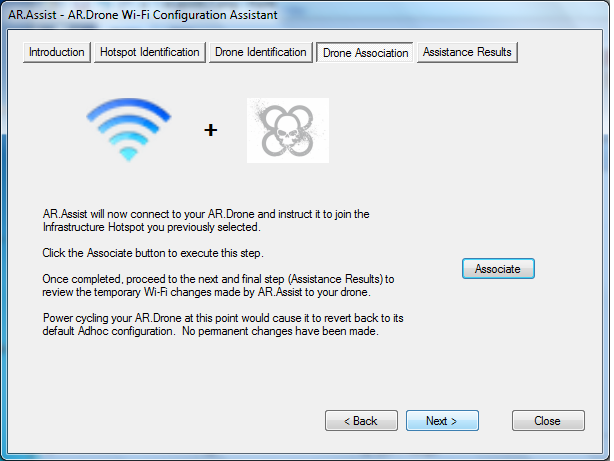
STEP 5 - Review changes, open your favorite AR.Drone client and go fly!
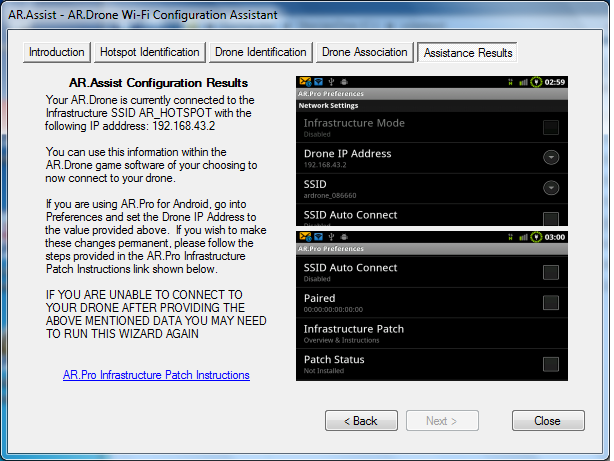
STEP 6 - OPTIONAL - Making your changes permanent in AR.Pro
ADVISORY: WHILE NOT REQUIRED IT IS STRONGLY RECOMMENDED THAT YOU BE ON FIRMWARE 1.4.7 OR 1.5.1 PRIOR TO INFRASTRUCTURE PATCHING YOUR DRONE.
THERE HAVE ALSO BEEN A HANDFUL OF REPORTS ABOUT AR.PRO REFUSING TO JOIN AN INFRASTRUCTURE NETWORK AUTOMATICALLY AFTER APPLYING THE PATCH. TO SOLVE THIS PROBLEM, FOLLOW THE PROCEDURE ABOVE TO CONNECT TO YOUR DRONE, OPEN AR.PRO, CONNECT, GO INTO PREFERENCES, UNINSTALL THE PATCH, AND IMMEDIATELY RE-INSTALL IT (WIHOUT EXITING PREFERENCES OR REBOOTING YOUR DRONE).
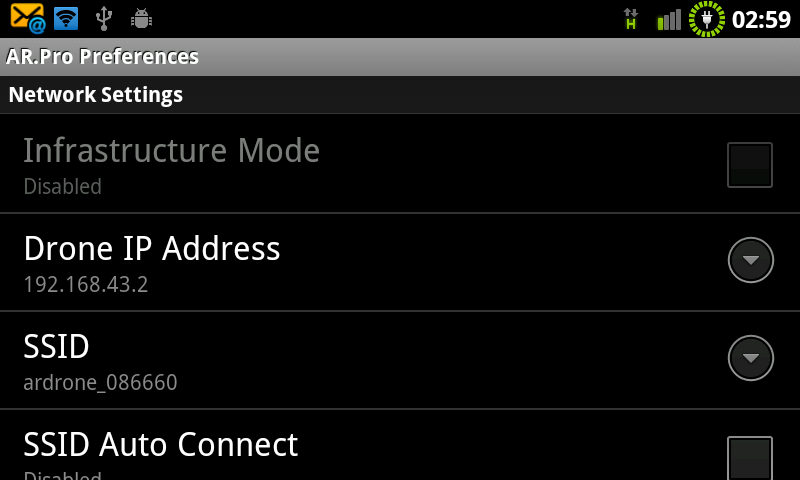
- Launch AR.Pro for Android
- Tap Menu and go into Preferences
- Scroll down to Network Settings
- Specify the IP Address provided by AR.Assist
- Exit Preferences
- Tap Menu, and Connect to your AR.Drone If you are unable to connect it is likely something went wrong within the AR.Assist procedure -- Start over at step 1.
- Tap Menu, and go back into Preferences
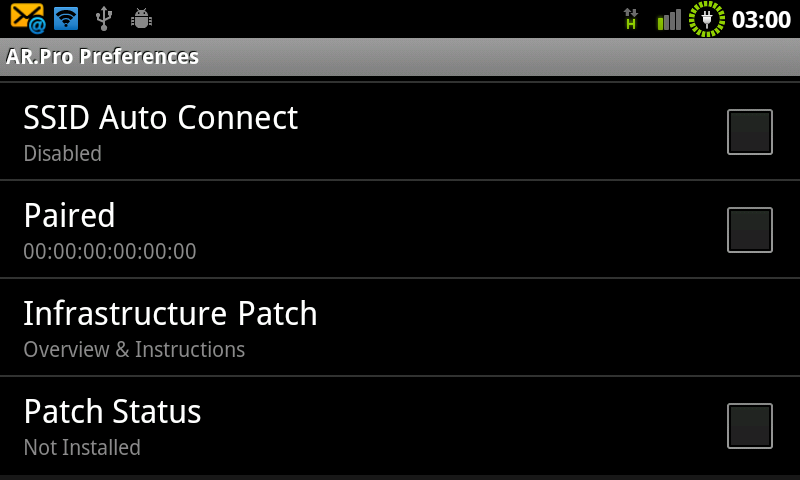
- Tap Patch status, accept responsibility for any unforeseen problems that may result from applying the patch***
- Now that the patch is applied Enable "Infrastructure Mode"
- Select "Drone IP Address" and rekey the IP Address provided by AR.Assist
- Select SSID (not SSID Auto Connect) and provide the SSiD provided by AR.Assist
- Exit out of Preferences
- Close AR.Pro
- Reboot your AR.Drone
- Reopen AR.Pro
- Go fly!
If you have any questions or run into any problems feel free to contact the author using the Contact link at the top of this page.
You may download AR.Assist HERE after reading and accepting the below ***DISCLAIMER***
*** Shell Shrader, DBA Shellware cannot and will not take any legal responsibility for any changes that you apply to your AR.Drone. You do so at your own risk. While every attempt has been made to make this a perfect solution, there is always a risk associated with configuration changes of this nature and we cannot assume any such liability. Additionally, making modifications of this nature to your AR.Drone could render your warranty with Parrot null and void. You've been warned.